010 - Hosting a Virtual Studio Class: 7 Tips for Success
Resources Mentioned
*Disclosure: I get commissions for purchases made through some of these links.
Zoom - free video-chat software (40-minute limit for groups of three or more on the Basic plan, waived right now for K-12 educators)
Google Meet - free video-chat software (the business version of Google Hangouts)
DecideNow - a free spinner app that’s great for games, reviewing scales, performances challenges, improv activities, and more
Blue Yeti Microphone - my all-time favorite microphone for recording directly into my MacBook. I use it for recording spoken directions as well as playing demonstrations.
Frances Clark Center - hosting free webinars multiple times a week for piano teachers who are navigating teaching online
Google Slides - a free, cloud-based tool for creating presentations, slide decks, and other visuals
Victoria Boler - an elementary music educator who shares lesson plans, planning resources, game ideas, virtual teaching tutorials, and folk song materials
flat.io - an easy-to-use, free browser-based music notation software with a Google Chrome extension
A few years ago, I started teaching monthly group classes in my studio.
The idea was to include more opportunities for informal performance, observation, musical discussion, and developing musicianship skills in a supportive group environment. All students are invited and encouraged to play something each time, even just part of a piece.
This gives us an opportunity to:
show works in progress
talk about practicing, learning processes, challenges, and rewards
give feedback (positive + constructive)
I also plan a few musical games and activities related to listening, movement, creative musicianship, and composition — things we can’t really do in our one-on-one lessons.
This year, I planned to teach five studio classes specifically for 3rd-6th graders, two studio classes for 7th-12th graders, and monthly buddy lessons for my K-2nd grade students.
But what to do when the world shuts down and everything moves online?
Host a Zoom studio class, of course.
Earlier this month, I taught two studio classes (3rd-6th grade and 7th-12th grade) and two buddy lessons (K-2nd grade). Here’s a behind-the-scenes look at how I set these up, how I structured our time together, and what activities I created to play virtually.
Plus, be sure to grab my free Google Slides templates with seven ready-to-use games for your online group classes.
Hosting a Virtual Studio Class: 7 Tips for Success
Tip #1: Choose a platform that works for you and your students
Think about what kinds of activities you want to include in your classes and choose a platform that will support that. Also consider using something that is user-friendly and ideally, something your students are already familiar with.
I’ve been using Zoom and FaceTime for my online lessons so far, so when it came time to plan for group classes, I went with Zoom. I’ve found the audio and video quality to be a little better than FaceTime and the ability to share my screen gave us the opportunity to play virtual games together.
Be aware that Zoom has a meeting limit of 40 minutes for groups of more than two — this wasn’t an issue for my 30-minute buddy lessons, but for my 45- and 60-minute classes, I borrowed my husband’s professional Zoom account (no limits) and created a meeting link to share with parents.
I’ve heard great things about Google Meet, especially for smaller groups of 3-4 students, so that might work for you if you’re looking for a non-Zoom option.
I taught the classes from my piano, where I’ve been teaching online lessons the past few weeks. I have a music stand to hold my computer, my iPad for scores, my iPhone for apps like DecideNow (I use this to determine the order in which students will play), and my favorite external microphone, the Blue Yeti.
Tip #2: Plan your time wisely
Like you would for an in-person class, think about how you want to spend your time together.
For instance, when we meet in person, we typically start with performances: I ask each student to prepare one piece (or part of a piece) to share with the group and then sometimes (depending on time), we’ll give comments (observations, compliments, constructive feedback). I allotted 5 minutes for each performance in our virtual classes.
After everyone has had a chance to play, we transition to a few musical games. Generally, I try to choose activities that foster the development of aural skills, rhythmic reading, listening, musical creativity, and music writing.
Inspired by a webinar hosted by the Frances Clark Center a few weeks ago, I created several aural skills games, flashcard sets, and listening activities using Google Slides and a free set of music notation symbol images (staff, clefs, notes, etc.) from Victoria Boler. Here are some of the games I created:

Free Download
READY-TO-USE GAMES AND ACTIVITIES FOR YOUR ONLINE GROUP CLASSES.
Here are seven ready-to-use-online games and activities to foster aural skills and awareness, reinforce theory and technique, and promote musical development. Enjoy!

Round-Robin Scale Review
I was trying to think of a creative way to review scales, since that’s something we’re focusing on in the studio right now. For my 7th-12th graders, I thought it might be fun to use a keyboard image and have them annotate on the screen the notes of different scales they’ve been working on. But rather than having them take turns notating an entire scale while everyone else watched, I wanted to find a way for all of them to be involved and participate the whole time.
So I came up with a round-robin style game where I name a scale and we go around the room adding notes one at a time.
For instance, for the key of E-flat major, the first student marks E-flat on the keyboard, the second student marks F, the third student marks G, etc. This way, everyone has to be actively engaged and thinking ahead. When the scale is complete, they can doublecheck their work by playing it on their pianos. For younger students, I recommend having everyone play along on their pianos at home (while muted), then call on different children to name the next note in the scale.
You could use this same activity to review chords, intervals, and arpeggios. For my younger students, I used the stamp tool in Zoom (under Annotation) to mark a key. I asked one student to name the note and the other to play it on their piano. Then, we switched roles. After a few turns, I marked two notes and had one student name both notes and the other play them on their piano (blocked or broken). This is a great way to prepare, introduce, or reinforce intervals!

Box Rhythms
This is a rhythmic dictation game. I chanted a 4-beat rhythm pattern and students had to decide together how to notate the pattern. Then, I dragged the stick notation into place and we all clapped or chanted the rhythm together.
Depending on the age of your students, you could also let them take turns creating a 4-beat pattern to chant for the class. We did this activity after the Rhythm Flashcards activity above, which was a helpful way to review these patterns and how to count them before manipulating them and having to write them down.

Interval Voting
This is a great way to review intervals aurally!
Play an interval on the piano and have students vote for the interval they hear. If they have annotating tools enabled on their Zoom accounts and they are logged in, they should be able to circle, stamp, or mark on the screen for everyone else to see. Clear the drawings to start over with a new interval. I would recommend limiting annotation tools to older classes — it worked better for my 3rd-6th grade class to write down their vote on a piece of paper and hold it up to the screen at the same time.
At the end of this game, go around the (virtual) room and have each student play an interval on their pianos for others to identify.

Tonal Dictation
I used a treble staff and five colored circles (noteheads) to make this game. I identified the first note, then played a 4-note pattern on the piano and asked my 7th-12th graders to work together to determine the pitches they heard. We did this after the Interval Voting game above, which was a good segue.

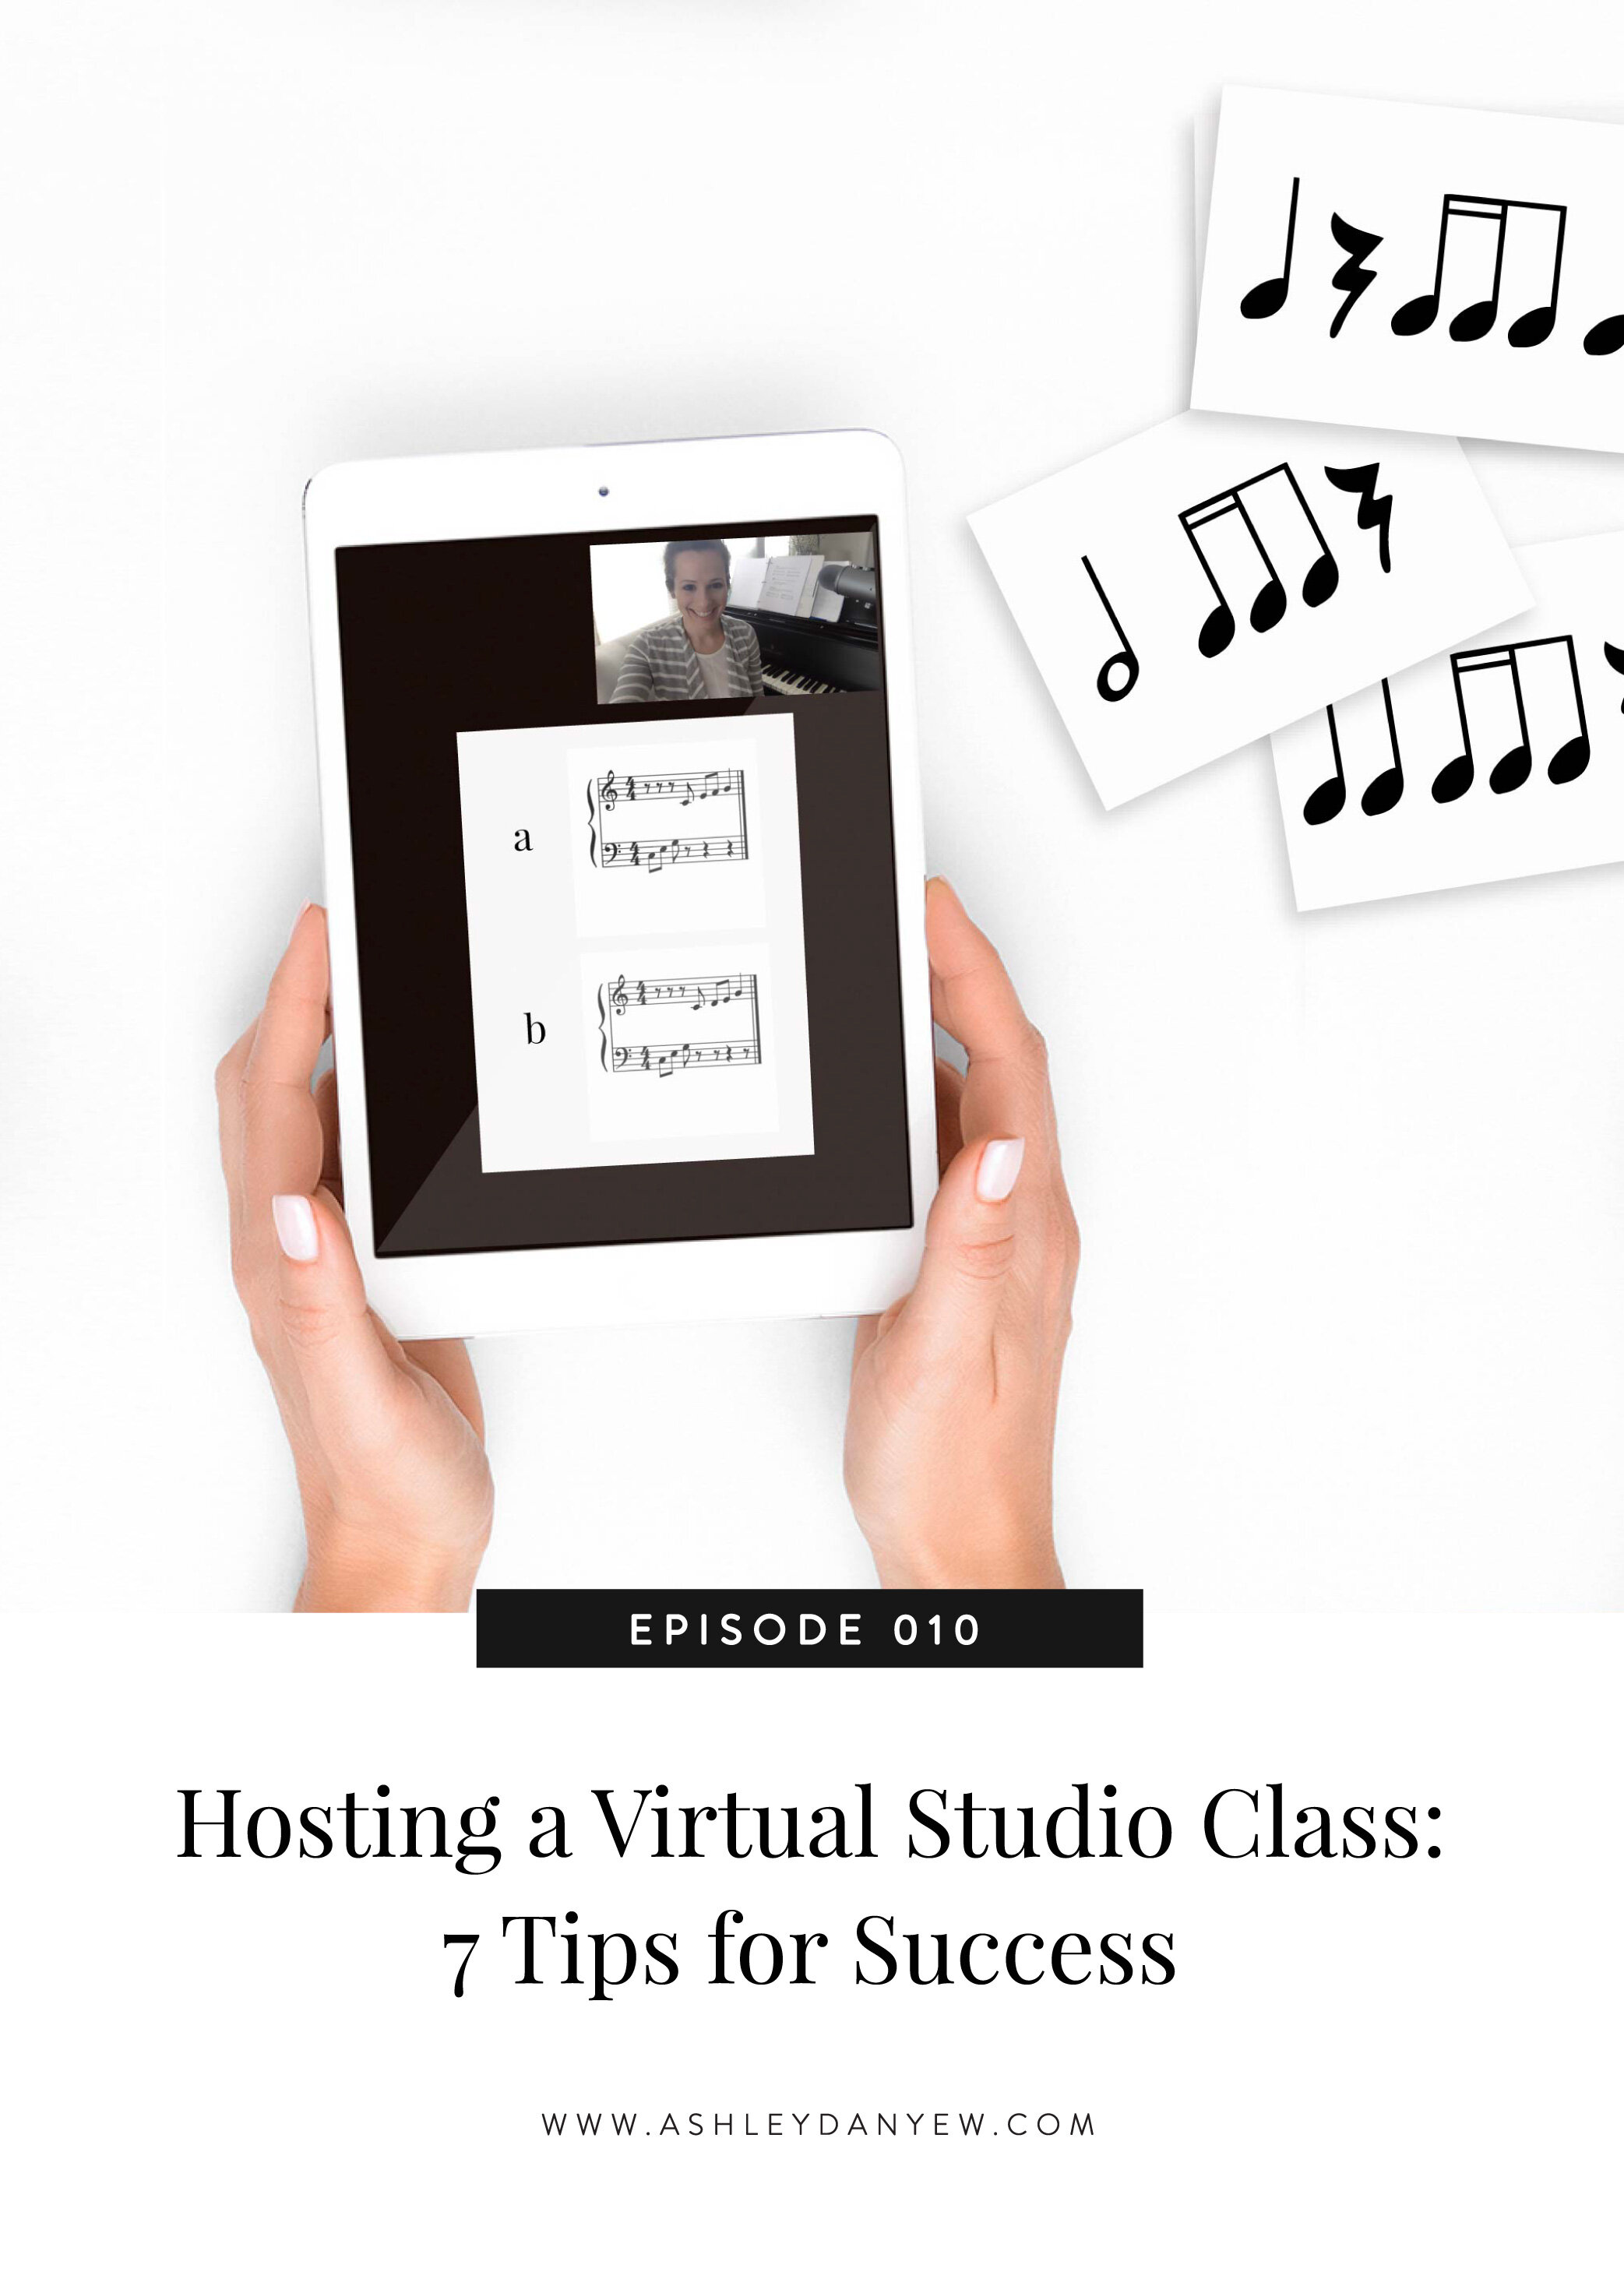
This or That? (Listening Game)
This is a fun listening game I created for my older elementary and middle school students (3rd grade and up).
Each slide has two 1-measure patterns on the Grand Staff. To create these, I added the flat.io add-on in Google Slides, which makes music notation a breeze. The patterns are different, but very similar (usually just one or two different notes). I chose one pattern from each slide to play on the piano and asked students to decide together which pattern they heard. Then, we discussed how the two patterns are different.
This is a great way to review intervals, foster critical listening, and practice good score-study skills.
All of these games (plus a few more!) are included in my Google Slides doc and I’m giving you free access!
Tip #3: Look for ways to keep everyone actively engaged
Though group classes may not be new for you, teaching them online probably is (for most of us, anyway!). One question to keep in mind is, “How can I keep everyone engaged and actively participating?”
A benefit to having everyone tuning in from their own homes is that everyone is sitting at the piano at the same time. Take advantage of this and encourage all students to play along on their pianos (muted, of course). Whether you’re working on a review piece, practicing a warm-up, reviewing an interval, identifying notes on the staff, or reading tonal or rhythm patterns, this will keep everyone engaged and actively participating.
Tip #4: Enable (or disable) the annotation feature in advance
One of the reasons I chose Zoom for my studio classes was the ability to share my screen and have students use their annotation tools to mark their answers. (If this is your plan, make sure this setting is enabled before you begin the meeting.) This worked beautifully for my older 7th-12th grade class and was a horrible disaster for my 3rd-6th grade class. The annotations became quite the distraction and I had to spend more time than I would have liked asking students to only mark one answer or to wait until they were invited to mark on the screen.
A quick solution for next time? Disable this setting ahead of time so that you are the only one who can annotate on the screen. Login to your account from a web browser, click Settings, then In Meeting (Basic) and scroll down to Annotation.
Tip #5: Take turns
One of the reasons for having a live virtual class is that students can not only see but connect with one another, right? We want to encourage them to collaborate and work together, give comments and encouragement, and hear each other’s voices, like we’d do if we were together in person. However, for a group of younger students (more than two), consider keeping everyone muted unless they are the soloist or you are calling on them for an answer. You can manually mute students in the Participants panel.
Encourage your students to participate the whole time by following along with what you’re doing, but take turns playing out loud, giving answers, demonstrating, performing, chanting, singing, naming, or improvising.
This will require some quick muting/unmuting on your part, but the end result is a more streamlined and controlled group experience with fewer distractions and background noise. Plus, it allows all students to participate at all times, without the chaos of hearing everyone’s pianos at once. You could even try having students take turns playing lines of a review piece they all know (for example, one student plays the first line, another plays the second line, another plays the third line, etc.). Or, if you’re teaching a buddy lesson, have them alternate lines back and forth.
Tip #6: Use gallery view
This is a simple one, but make sure your view is set to gallery view when you’re not sharing your screen. That way, you’ll be able to see all of your students at the same time. The setting is in the upper-right corner of your meeting screen. Students may find it beneficial to have it set to speaker view. This way, whoever is speaking or playing will come up as the primary video.
Tip #7: Include an off-the-bench activity
In a normal, in-person group class, we would not have students sit on the bench or in chairs the whole time, right? We’d have them do that for part of the time, then move to the floor or an open space where they can do a movement or listening activity or we’d have them do a rhythm game or activity standing up.
If you’re working with younger students, it’s especially important to include an off-the-bench activity or two, especially in longer classes. Plan a body movement exercise, a steady beat activity, a simple coloring project, or a game they can play while sitting on the floor.
One final tip? Make sure their camera is set up in such a way that you can still see them when they move off the bench.
Looking for more helpful resources and guidance for teaching online? Take a look at these new articles:
What about you?
Are you teaching virtual studio or group classes right now? If so, what strategies have you found most successful? What games or activities are you using to promote learning and musical development?