beginning students

Six Practice Steps for Beginning Piano Students

Six Practice Steps for Beginning Piano Students

I love working with beginning piano students.

Our lessons are always full of imagination and creative exploration—their eyes wide with excitement and wonder when they make a connection or discover something new—and I always learn so much about myself as a teacher as we walk those first steps in their musical journey together.

That being said, we all know that when learning a new instrument, productive practice time at home is essential to learning and developing as a musician. 

Most of us see our beginning students for only 30 minutes a week, so time spent at the keyboard in between lessons can really make or break a student’s progress and the fulfillment they find in music-making.

10 Ways to Help Your Child Practice

10 Ways to Help Your Child Practice

This is a letter to all the parents and guardians and babysitters and older siblings and neighbors and friends who support young musicians: those who encourage the pursuit of music, tote children and books and accessories back and forth to lessons each week, and help with practicing at home.

Dear parents + guardians:

Thank you for supporting your child’s musical pursuits. You play a crucial role in your child’s success in learning to play an instrument. Even if you don't play the piano yourself, your support and guidance at home during the week is extremely important to their music-learning process. 

My Go-To Plan for First Piano Lessons

My Go-To Plan for First Piano Lessons

Where should we begin?

It's the age-old question we ask ourselves when we sit down with a new (beginning) student for the first time. What should we talk about first? Hand position? Finger numbers? Letter names? Where's Middle C?

I like to get the student playing as quickly as possible. We explore high sounds and low sounds and sounds in the middle, black keys and white keys and the patterns they make, and rhythm patterns based on our heartbeat. We imitate, improvise, and create.

The first lesson is all about experimenting with the instrument and exploring sound. Here is my go-to lesson plan:

    40 Ideas to Inspire Creativity in Your Students

    40 Ideas to Inspire Creativity in Your Students

    "To stimulate creativity, one must develop the child-like inclination for play.”- Albert Einstein

    As a piano teacher, I love teaching young beginning students. I love their enthusiasm, the questions they ask, their excitement over little successes, and most of all, their creativity.

    Young children are naturally curious and inquisitive, with vivid imaginations. I love finding ways to bring that into our piano lessons and their practicing at home. I added a "Creativity Challenge" to the bottom of my assignment sheets a few years ago (available as a free printable here) and each week, I write a short prompt to encourage creative exploration, discovery, and music-making during the week.

    "Around the World" Piano Theme

    "Around the World" Piano Theme

    One of my favorite ways to prepare for the new teaching year (or new semester) is choosing a theme and gathering inspiration. Last year, I spent some time planning an "Around the World" theme for my young piano students (inspired by a children's choir curriculum I created a few years ago). So fun! See my inspiration board here.

    Pack your bags and join us for an exciting musical journey around the world! This year, students will discover new skills and musical concepts, hear and play new music, and experience the language of music in a rich environment. At the end of the year, children will have suitcases full of new skills and experiences from their musical travels!

    Piano Assignment Sheets

    1 / 2 / 3 / 4 / 5 / 6

    *Disclosure: I get commissions for purchases made through links in this post.


    I started using weekly assignment sheets in my studio last year.

    I know from experience that written assignment sheets do not work for every student, but for most of my current students, they make a big difference in organizing home practice and keeping open communication with parents.

    Keeping a written record of projects, goals, and repertoire keeps all of us on the same page, even though we're only together for 30 minutes a week.

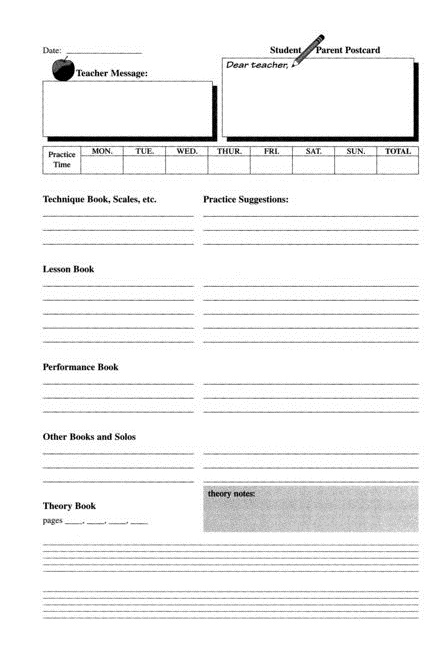
    I thought it might be helpful to those of you considering using assignment sheets in your studio to have a roundup of some of the templates out there. For me, some of the key features of a weekly assignment sheet are:

    • name and date (a way to personalize them for each student)

    • blocks for warm-ups or technic, a few repertoire pieces, and musicianship activities

    • a way to track practice time during the week

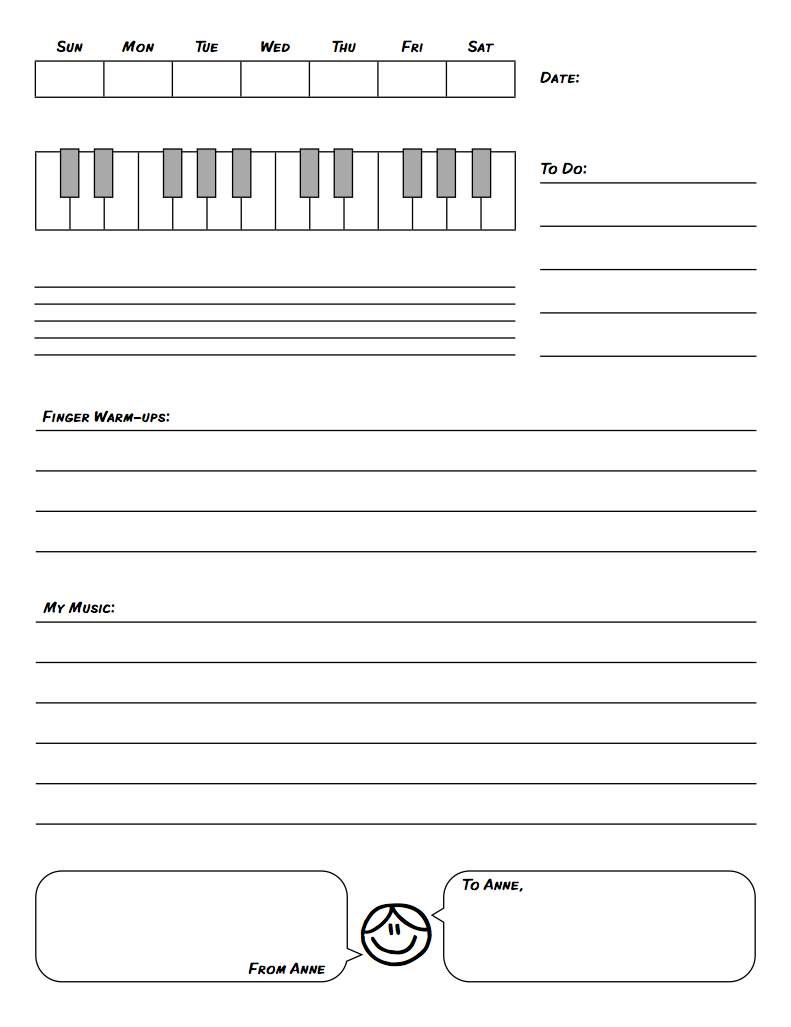
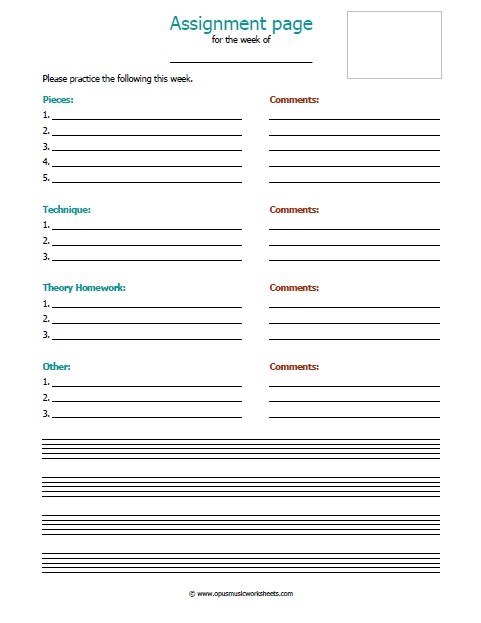
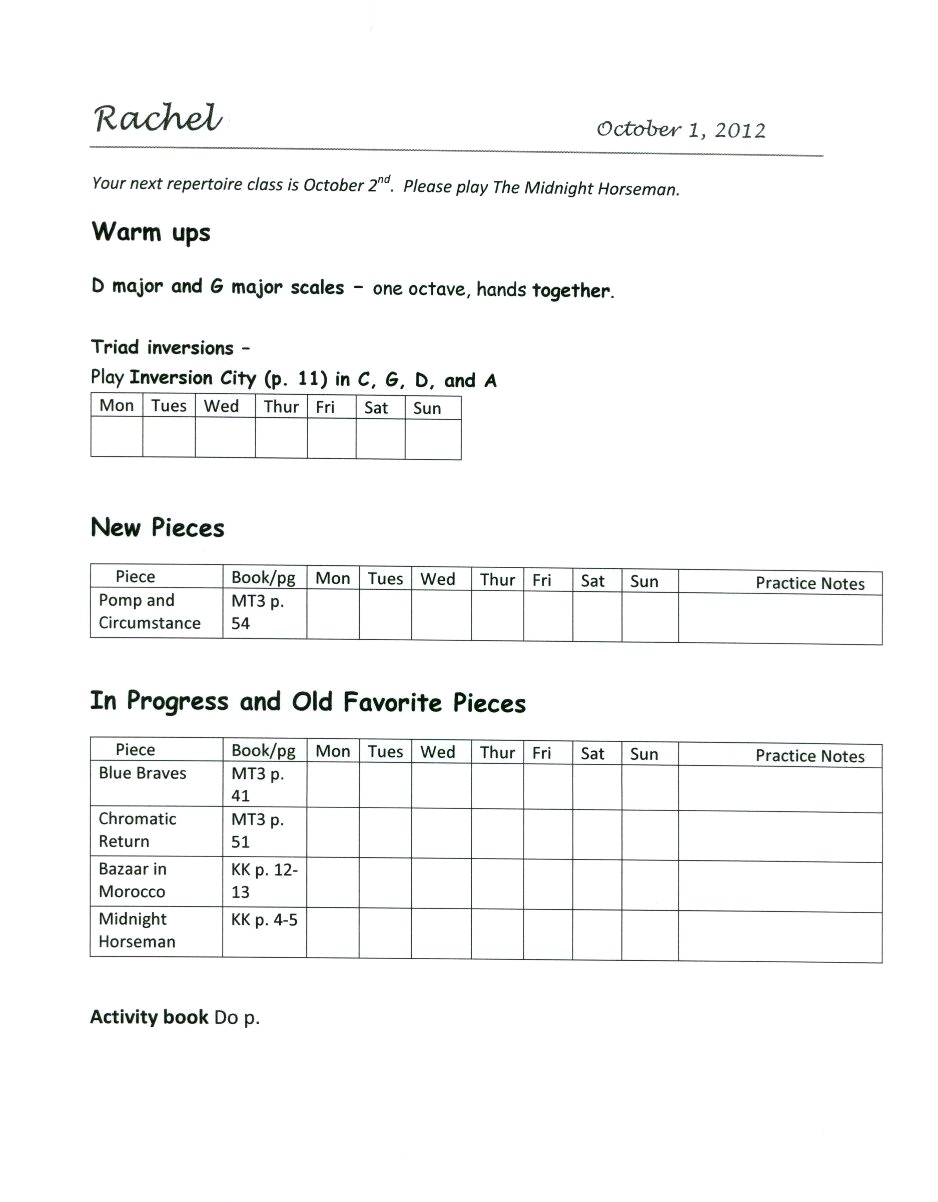
    PianoPedagogy.org has a great post on using assignment sheets with several templates. In addition, Faber & Faber and Alfred have assignment books (I'm sure others do, as well). Some of these models include staff lines (for composition starters or warm-ups), the circle of fifths, keyboard legends (great for marking hand positions), and space to write messages to parents (and for parents to write messages to you!).

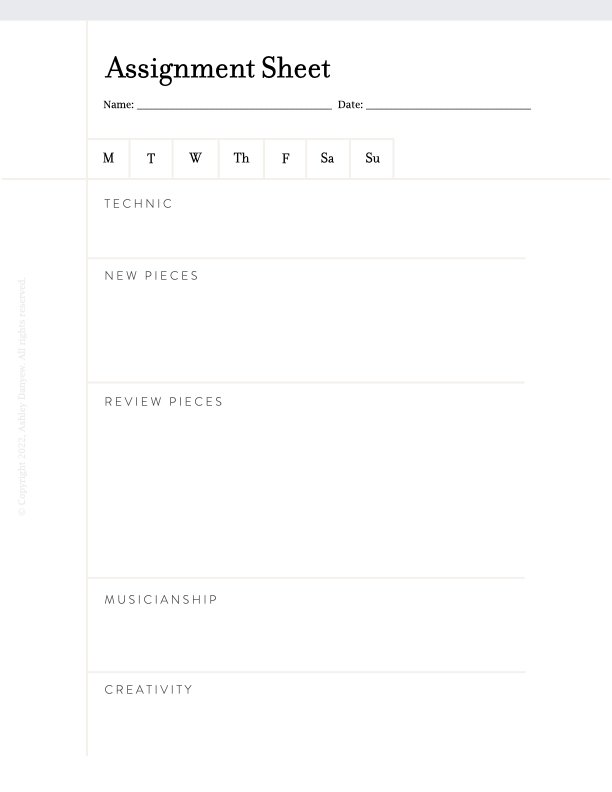
    I used many of these models as inspiration for creating my own Studio Assignment Sheet last year. This is what I use with my students on a weekly basis.

    Enjoy!


    Practice, practice, practice.

    Free Resource

    A printable assignment sheet for beginning and elementary-age students. Includes: practice log, technic, new and review pieces, musicianship (rhythmic review, aural skills, theory, sight reading, etc.), and creativity (e.g. make a piece that is ___ measures long and uses ___)


    Matthew's Lesson

    Every Monday night at 6:30 p.m., seven-year-old Matthew comes for a piano lesson.  Some days, these lessons are 80% discipline and 20% playing but this week’s lesson was an exceptional contrast. In preparation for our lecture recital, Steve and I had moved the piano from it’s usual front right position to front and center (and rotated 180-degrees).  This change to our normal lesson scene made an immediate difference with Matthew.  The curly-headed, wiggly child sat right down and flipped his book open to our newest page.  “Are we starting with this piece?” I asked, pointing to the first of the two.  Without a word, he brought his hands up to the keyboard and began to play.  He meant business!  I sat to the side and observed until the end of the piece.  Matthew has an excellent sense of rhythm so generally it’s just fingering and tonal patterns that we need to review.  This performance, however, required no review!  He played the song in it’s entirety while chanting the text.  I was impressed!

    We moved on to the second piece on the page by reviewing the rhythm/text.  After tapping and chanting, I asked him to find his hand position.  Again, he played straight through, while chanting the text with no issues!

    Normally, by this point in the lesson, I would be kindly asking him to take his feet off the pedals, sit still, play with only fingers 2 and 3, etc.  Since he was so focused and playing so well, I encouraged him to explore the change in sound when adding a little pedal.  He played very gently – adding about half of the sustain pedal throughout.

    At the end, I asked, “How did that change the sound?”  He had an immediate response.  “It stays,” he said simply.  “Yes!” I replied enthusiastically.  “It makes the sound last longer, doesn’t it?”  “Yes, and if I were just playing notes like this-” he stopped to demonstrate a pattern of steps “then I wouldn’t need the pedal.  But if I were playing here [high register] and then I wanted to go down here [moving to the mid-low register] then I would need the pedal.”  What an insightful response!  It became clear to me that Matthew not only recognized the sound difference but knew how he would use it in the future as a way of connecting patterns in different registers!

    Having recently learned about 2nds, playing on white keys (this book starts on the black keys), and dotted half notes, I asked Matthew to improvise a piece that incorporated all three things.  He thought for a minute before beginning.  Thoughtfully, he played a stepwise melody with a repeated rhythmic motive.  He used both hands and a wide range of keys.  The piece ended rather abruptly but from the look on his face, this was intentional.

    “That was beautiful, Matthew!”  I said.  “What’s the name of that piece?”  “I haven’t decided yet,” he said in a matter-of-fact way.  “Let’s ask your grandma what she thought,” I suggested.  “I thought it sounded whimsical,” she said.  Seeing the perplexed look on Matthew’s face (“What the heck does that mean?!”) she quickly added, “Like playing with toys.”  “Hmm, what do you think, Matthew?” I asked.  “Toy Days,” he stated.  And “Toy Days” it was.

    We moved back in the book to review his recital pieces – “Inchworm” and “Playing Frisbee.”  We work on text from the very beginning of learning a new piece but in preparation for the recital, I’ve been working on having Matthew think the words internally instead of speaking them out loud.  We reviewed this for both pieces and as I joined him on the bench to add the duet part, I reminded him about bringing our hands up to the keyboard at the same time and lifting our hands off the keys and back to our laps at the end of the piece.  His grandmother was very impressed.

    I had one more piece to review – “Merrily We Roll Along.”  This is a great example of knowing/singing a song one way and reading it another.  This elementary piano book carefully presents this song within a 3-note range for each hand and with only basic rhythms (for instance, no dotted rhythms).  I believe that reading is important, but I also know that Matthew knows this song with a different rhythm.  I’m not going to correct him with the simplified version when he can hear and play the more complicated version.  All I had to do was turn to the page and he began to play.

    I had turned for just a minute to make a comment to his grandmother about practicing but I could hear him working out this song by ear.  He was looking at the book but we both knew he wasn’t really reading it.  He was singing to himself and when he played a wrong note, he would say to himself, “Wait!” and then begin the phrase again and again until he figured it out.  He didn’t stop until he could play all the way to the end.  I thought this was excellent and praised him for using his ear to self-correct.  I played my accompaniment for him and we sang the melody together (with the familiar dotted rhythm).  After that, it was much easier to play both parts because he already had an idea of how the two parts fit together.

    We ended our lesson time with a few preparation steps for a new song – reading the text in rhythm and tapping while chanting.  We discussed the implications of the title (“Parade”).  “Have you ever marched in a parade?”  I asked.  “No, but I’ve seen a parade before,” he answered.  “Well, what do you think would happen if you were marching in a parade and suddenly, you decided to stop?”  “You would get run over!” he replied with big eyes.  “Probably so!”  I said.  “That’s what this song means when it says, ‘Keep the step!’”

    Lessons like these remind me why I love teaching.  The creativity, the innocence, the playfulness, and the imagination make music so much more fun!  Can we all be a little more like seven-year-olds sometimes?

    Boys Will Be Boys

    *Disclosure: I get commissions for purchases made through links in this post.

    I am learning so much about the nature of boys from my piano lessons with seven-year-old Matthew. 

    At first, it may seem to an observer that Matthew is easily distracted, often outspoken, and possibly disinterested in piano. However, after several weeks of lessons, I see the situation a little differently.

    Tonight, I introduced the slur (Unit 3 of Time to Begin from the Music Tree Series).


    “Do you know what this curved line means?” I asked.

    “No!” said Matthew, boldly.

    “It means to play things smoothly – like this,” I said as I demonstrated a connected melody.

    Wiggling on the bench next to me, Matthew instantly began playing loudly in the bass register of the piano, cutting off my more delicate melody.  Instead of stopping him or suggesting that his playing was loud or interruptive, I let him play. 

    I recognized after just a second of hearing him play that he was experiencing this new concept of smooth playing.  He heard me define and demonstrate it – now he needed to experience it.  Imagine the learning that would not have taken place had I cut him off abruptly!

    “Can you demonstrate something that is not smooth and connected?” I prodded.

    Relating a new concept to what it is not is always helpful in the learning process.  Instantly, Matthew began playing – with both hands.

    “What do you call that?” I asked.

    I wanted to encourage him to name this opposite style himself rather than me enforcing a foreign name such as “staccato.”

    “Crime,” he said with big eyes.

    “I guess it might sound like crime,” I responded.  You can never expect the path that true imagination takes!

    “We could call it disconnected or – popcorn!” I said, catching myself introducing a foreign word.

    Seven-year-olds can relate to popcorn, though this analogy still required a demonstration before he agreed.  Once Matthew understood the concept of the slur and experienced what it felt like to play in a smooth and connected style, the next few pieces came easily.

    I have also learned that Matthew loves rhythm and it comes very naturally to him.  To encourage rhythm study in lessons, I created a series of rhythm pattern cards in triple and duple meter.  I let Matthew choose 8-12 cards each week to arrange in any order. 

    Tonight, he was confident enough in his rhythm reading that he performed a series of four patterns while I read a contrasting series of four patterns.  This is his favorite way to end our lessons each week!


    Making the Intangible Tangible

    My piano studio is officially up and running and I have nine students enrolled for the fall.  I have quite a spread at the moment with students ranging from age 5 to retired adult.  I am also teaching seven students and staff members at Fitchburg State University.  It’s a wonderful opportunity to teach at so many different levels but I must confess, Kindergarten and 1st Grade is still my favorite age. Yesterday, I had a lesson with 5-year-old Lily.

    With a head full of curls and always decked out in the latest fashion, Lily is bright-eyed and full of energy.  As such, we started our piano lesson with “warm-ups” a.k.a “get the wiggles out before you sit down on the bench.”  We wiggled our arms, we bobbed our wrists, and we wiggled all of our fingers (what a great way to promote large-body movements to fine motor skills and relaxation – something we all should practice!).

    We spent the beginning of the lesson reviewing the pieces we started last week: chanting the texts while keeping a steady beat (for the following piece I used an imaginary oar as a variation of the arm swing), tapping the rhythm on the keyboard cover, singing, and looking for musical patterns.

    Crossing the lake in a canoe, Paddling along enjoying the view!

    “What do you see when you’re paddling across the lake?”  “Umm,” Lily said, cocking her head to one side.  “I see some trees, and a blue sky… and some clouds, and – this is silly.”  “What is it?”  I prodded.  “A bread-tree,” she replied, matter-of-factly.  What is a bread-tree, you might ask?  In Lily’s words, “It’s a tree with slices of bread on it!”  What an imagination!  If only we could look at the world through the eyes of a five-year-old every once in a while.

    The second half of the lesson was spent on new material: We walked in place (keeping a steady beat while chanting the text), swung our arms, tapped our hands, and identified the starting hand position.  After demonstrating the beginning of the piece, I said, “Can you copy me?  Do you have it in your head?”

    Immediately, Lily’s facial expression changed and I knew this was a concept difficult for her to grasp.  Think about the question literally – imagine the notes swirling around or maybe the printed page crumpled up in your head.  Quick – improvise!

    “It’s not in your head?  Well, open it up (pretending to open a door into the top of my head) and put it in!”  She quickly copied my motions, smiling.  I knew she had heard me play the piece and we had spoken the text in rhythm several times as preparation.  Once we overcame this intangible gap, she played the piece just fine.

    I learn so much about myself as a teacher in these kinds of lessons.  I can’t help but come home beside myself with excitement and eager to share my creative experiences with Steve – it’s the five-year-old in me.